Every public-facing Linux server gets hammered. SSH brute-force bots, WordPress login scanners, mail relay probers — they're relentless and they're automated. fail2ban doesn't stop all of it, but it does make the noise manageable. It watches your log files, detects repeated failure patterns, and drops offending IPs via your firewall before they can do real damage. It's not a silver bullet, but it's one of those tools that earns its keep every single day without demanding much from you once it's properly configured.
This guide walks through a complete setup on a Debian/Ubuntu host, with notes for RHEL-based systems where things diverge. The structure is deliberate: prerequisites first, then step-by-step installation and jail configuration, a full working config you can adapt, verification steps to confirm everything is actually doing its job, and a section on the mistakes I see most often in the wild.
Prerequisites
fail2ban needs Python 3.x, which ships as a dependency on modern distros so you don't usually have to think about it. More important is having a working firewall backend. fail2ban supports iptables, nftables, ufw, and firewalld — in my experience, iptables-multiport is the most portable and predictable choice across distributions, and that's what this guide uses. If you're already committed to nftables, there's a note further down on switching the action backend.
You also need at least one service generating log files that fail2ban can parse. SSH is the obvious starting point and practically universal. Beyond that, the right answer depends on what's running on your host.
One thing to sort out before you install anything: know your management IP. Whatever address you use to SSH into the machine needs to be whitelisted in fail2ban's
ignoreipdirective. If you skip this and your own IP gets caught by a misconfigured jail, you're either opening a support ticket with your cloud provider or booting into recovery mode. I have seen this happen more times than I'd like to admit, always at the worst possible time. Get the IP, write it down, set it before you do anything else.
Installing fail2ban
On Debian or Ubuntu:
apt update && apt install -y fail2banOn RHEL 8/9, Rocky Linux, or AlmaLinux, you'll need the EPEL repository first:
dnf install -y epel-release
dnf install -y fail2ban
After installation, the most important habit to build immediately: never edit /etc/fail2ban/jail.conf
. That file is owned by the package manager. The next system update will overwrite it and everything you put in there will be gone. All customization belongs in
/etc/fail2ban/jail.local, which the package won't touch and which takes precedence over jail.conf at runtime. This isn't optional guidance — it's the only sane way to manage fail2ban across upgrades.
Step-by-Step Setup
Step 1: Create jail.local with Global Defaults
Start by establishing your global defaults. These cascade to every jail you define unless explicitly overridden at the jail level. Create
/etc/fail2ban/jail.localwith the following:
# /etc/fail2ban/jail.local
[DEFAULT]
# Whitelist your management subnet and loopback
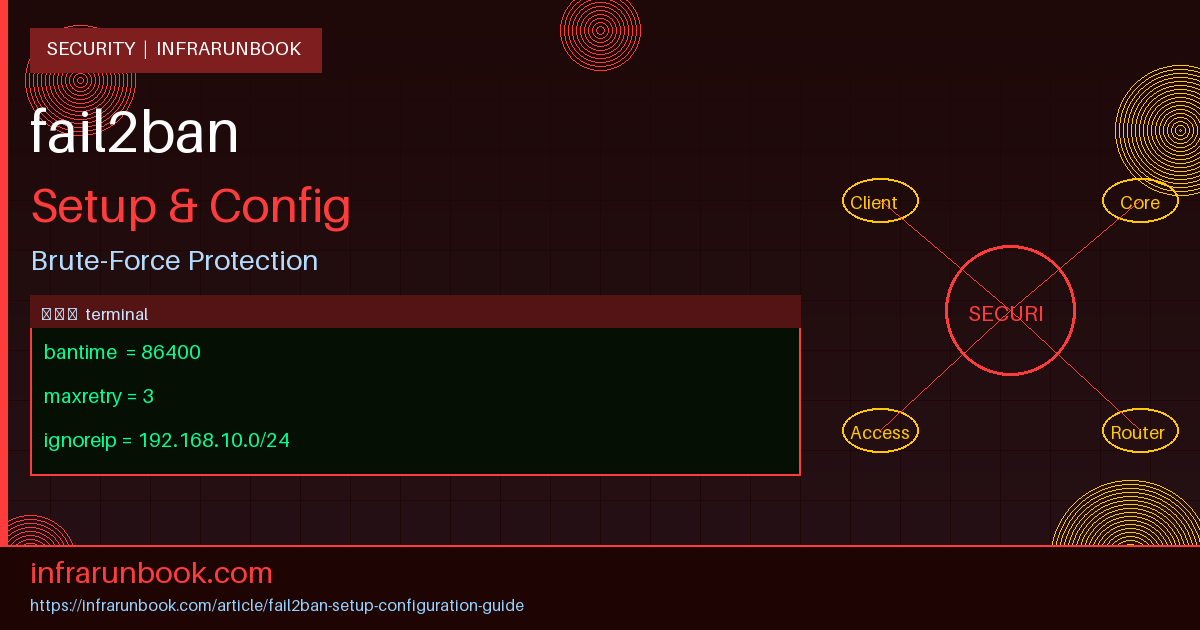
ignoreip = 127.0.0.1/8 ::1 192.168.10.0/24
# Time an IP stays banned, in seconds. 3600 = 1 hour.
bantime = 3600
# Window during which failures are counted
findtime = 600
# Number of failures before a ban is issued
maxretry = 5
# Firewall action backend
banaction = iptables-multiport
# Log backend — auto works on most systems
backend = auto
# Email alerts (requires a working MTA)
destemail = infrarunbook-admin@solvethenetwork.com
sender = fail2ban@sw-infrarunbook-01.solvethenetwork.com
mta = sendmail
action = %(action_mwl)sThe
ignoreipline is your safety net. The
192.168.10.0/24block represents the management VLAN — adjust it to reflect your actual network layout. You can mix CIDR blocks and individual IPs in the same line, space-separated. The
action_mwlaction bans the IP, sends you an email with whois data and relevant log lines, and is verbose by design. During initial setup that verbosity is useful. One caveat: it requires a working MTA on the host. If sendmail isn't configured, you'll get ban events but also a stream of errors in the fail2ban log every time it tries to deliver mail. If you don't have a local MTA, use
%(action_)sinstead — ban only, no mail.
Step 2: Enable the SSH Jail
The SSH jail is the highest-priority one on any internet-facing host. Add this to
jail.local:
[sshd]
enabled  = true
port     = ssh
filter   = sshd
logpath  = /var/log/auth.log
maxretry = 3
bantime  = 86400
I deliberately override the global
maxretryand
bantimehere. Three failures and you're banned for 24 hours. Legitimate users don't mistype their SSH credentials three times in a row. If they do, they can reach you on another channel. Anything hammering SSH is automated, and there's no reason to be gentle about it.
On RHEL-based systems, SSH failures log to
/var/log/secureinstead. Alternatively, you can bypass file-based log parsing entirely and use the systemd journal backend, which works everywhere systemd is running:
[sshd]
enabled  = true
port     = ssh
filter   = sshd
backend  = systemd
maxretry = 3
bantime  = 86400
Step 3: Protect Nginx with the HTTP Auth Jail
fail2ban ships with an nginx-http-auth filter that catches repeated 401 responses from basic authentication failures. Add this to
jail.local:
[nginx-http-auth]
enabled  = true
filter   = nginx-http-auth
port     = http,https
logpath  = /var/log/nginx/error.log
maxretry = 6
findtime = 300
bantime  = 3600
For bot scanning — requests probing for
/wp-login.php,
/.env,
/phpMyAdmin, and similar paths that return 444 or 404 — the nginx-botsearch jail is worth adding too:
[nginx-botsearch]
enabled  = true
filter   = nginx-botsearch
port     = http,https
logpath  = /var/log/nginx/access.log
maxretry = 2
findtime = 60
bantime  = 86400
The tight
findtimeof 60 seconds and a threshold of just 2 failures is intentional. Bots scan fast — if something hits two probe paths inside a minute, it's not a human and it doesn't deserve a second chance.
Step 4: Write a Custom Filter for Application Logs
This is where fail2ban earns its keep beyond the standard use cases. Suppose your internal web application writes authentication failures to
/var/log/webapp/auth.login this format:
2026-04-21 14:32:01 [ERROR] Failed login for user infrarunbook-admin from 203.0.113.45Create a filter file at
/etc/fail2ban/filter.d/webapp-auth.conf:
[Definition]
failregex = \[ERROR\] Failed login for user \S+ from <HOST>$
ignoreregex =
The
<HOST>token is fail2ban's extraction placeholder — it matches any IPv4 or IPv6 address and pulls it out as the IP to act on. Always test your filter before deploying it:
fail2ban-regex /var/log/webapp/auth.log /etc/fail2ban/filter.d/webapp-auth.conf --print-all-matchedThe
--print-all-matchedflag dumps every matching log line so you can confirm the regex captures what you think it does. A filter that matches zero lines means zero bans, and you'll have no idea the protection is missing until you go looking for it. Run this test every time the application's log format changes — I've been caught off guard by upstream format changes that silently broke a working filter.
Once validated, add the jail:
[webapp-auth]
enabled  = true
filter   = webapp-auth
port     = http,https
logpath  = /var/log/webapp/auth.log
maxretry = 5
findtime = 600
bantime  = 7200
Step 5: Start and Enable the Service
systemctl enable --now fail2banCheck that it started cleanly:
systemctl status fail2banIf you see errors, check
/var/log/fail2ban.log. A common startup failure is a
logpaththat doesn't exist yet — fail2ban will refuse to initialize a file-based jail pointing to a nonexistent log file. Either create the file, switch to
backend = systemd, or temporarily disable the jail until the service generating those logs is running.
Full Configuration Example
Here's a complete, production-ready
jail.localfor a web-facing host running SSH, Nginx, and a custom web application. This is the file as it would look on sw-infrarunbook-01.solvethenetwork.com after following all the steps above, plus incremental ban times for repeat offenders:
# /etc/fail2ban/jail.local
# Host: sw-infrarunbook-01.solvethenetwork.com

[DEFAULT]
ignoreip            = 127.0.0.1/8 ::1 192.168.10.0/24 192.168.20.10
bantime             = 3600
findtime            = 600
maxretry            = 5
banaction           = iptables-multiport
backend             = auto
destemail           = infrarunbook-admin@solvethenetwork.com
sender              = fail2ban@sw-infrarunbook-01.solvethenetwork.com
mta                 = sendmail
action              = %(action_mwl)s

# Incremental bans for repeat offenders
bantime.increment   = true
bantime.factor      = 2
bantime.maxtime     = 604800
bantime.overalljails = true

# -----------------------------------------------
# SSH
# -----------------------------------------------
[sshd]
enabled             = true
port                = ssh
filter              = sshd
logpath             = /var/log/auth.log
maxretry            = 3
findtime            = 300
bantime             = 86400

# -----------------------------------------------
# Nginx HTTP basic auth failures
# -----------------------------------------------
[nginx-http-auth]
enabled             = true
filter              = nginx-http-auth
port                = http,https
logpath             = /var/log/nginx/error.log
maxretry            = 6
findtime            = 300
bantime             = 3600

# -----------------------------------------------
# Nginx bot/scanner traffic
# -----------------------------------------------
[nginx-botsearch]
enabled             = true
filter              = nginx-botsearch
port                = http,https
logpath             = /var/log/nginx/access.log
maxretry            = 2
findtime            = 60
bantime             = 86400

# -----------------------------------------------
# Custom web application authentication
# -----------------------------------------------
[webapp-auth]
enabled             = true
filter              = webapp-auth
port                = http,https
logpath             = /var/log/webapp/auth.log
maxretry            = 5
findtime            = 600
bantime             = 7200

# -----------------------------------------------
# Postfix SMTP
# -----------------------------------------------
[postfix]
enabled             = true
filter              = postfix
port                = smtp,465,submission
logpath             = /var/log/mail.log
maxretry            = 5
bantime             = 3600
A few things worth highlighting here. The
ignoreipline includes both the management subnet
192.168.10.0/24and a single jump host at
192.168.20.10— you can mix CIDR and individual IPs freely. The
bantime.incrementblock is worth understanding: the first ban lasts whatever
bantimeis set to, the second offense doubles it, the third doubles again, and so on up to a cap of one week (
604800seconds). The
overalljails = truesetting means repeat offenses across any jail count toward escalation — an IP that fails SSH once and then hammers your web app will be treated as a repeat offender. Without this, each jail tracks recidivism independently.
Verification Steps
Check Active Jails
fail2ban-client statusThis lists every jail currently running. If a jail you defined in
jail.localdoesn't appear here, it either failed to start or has
enabled = false. Check
/var/log/fail2ban.logfor startup errors — filter parse failures and missing log files are the two most common causes.
Inspect a Specific Jail
fail2ban-client status sshdThe output shows current and total failure counts, the log files being watched, and the currently banned IP list:
Status for the jail: sshd
|- Filter
|  |- Currently failed: 2
|  |- Total failed:     47
|  `- File list:        /var/log/auth.log
`- Actions
   |- Currently banned: 3
   |- Total banned:     12
   `- Banned IP list:   203.0.113.15 203.0.113.22 198.51.100.7
If both "Currently failed" and "Currently banned" sit at zero for several minutes on a public-facing SSH port, something is wrong. Either the filter isn't matching your log format, or the log file isn't being tailed correctly. Don't assume silence means no attacks — it almost certainly means the detection pipeline is broken.
Manually Test the Ban Mechanism
Force-ban a dummy IP to verify the iptables chain is actually being populated:
fail2ban-client set sshd banip 192.168.99.99Then confirm the firewall rule was created:
iptables -L f2b-sshd -n -vYou should see a DROP rule for
192.168.99.99. If the chain doesn't exist or the rule isn't there, your banaction is misconfigured. Clean up the test ban when done:
fail2ban-client set sshd unbanip 192.168.99.99Validate a Filter Against Live Logs
fail2ban-regex /var/log/auth.log /etc/fail2ban/filter.d/sshd.conf --print-all-matchedRun this periodically, especially after OS or application upgrades. Distro updates sometimes change log formats in ways that silently break existing filters. In my experience the sshd filter is stable across distro versions, but custom filters for application logs are much more fragile — worth checking any time you update the application itself.
Watch the Live Log
tail -f /var/log/fail2ban.logKeep this open in a second terminal during initial deployment. You'll see every ban event as it fires, every filter error, and every action execution. Once you're confident the setup is healthy you can close it, but for the first hour after going live it's indispensable.
Common Mistakes
Editing jail.conf Instead of jail.local
The single most common mistake, and the most frustrating to debug after the fact.
jail.confis package-managed. It will be overwritten silently on the next package upgrade, and your custom jails, tweaked thresholds, and whitelisted IPs will disappear with it. Always, without exception, put your configuration in
jail.local.
Not Whitelisting Management IPs
Mentioned in the prerequisites and worth repeating here. If you're on a cloud host without out-of-band console access and you lock yourself out of SSH, recovery is painful. Set
ignoreipbefore enabling any jails. If you're not sure what your egress IP is, check it before you start —
curl -s https://checkip.amazonaws.comor similar. Don't assume your management address is static; if it's dynamic, whitelist the entire subnet rather than a single host.
Pointing logpath at a File That Doesn't Exist
On Ubuntu, SSH failures go to
/var/log/auth.log. On RHEL/Rocky/Alma, they go to
/var/log/secure. Nginx error logs can be at nonstandard paths if someone customized the vhost config. If
logpathpoints to a nonexistent file with the default file backend, fail2ban will log an error and the jail will start but never match anything. The jail shows as active in
fail2ban-client statuswith a zero count, which looks fine but isn't. Verify the log path exists and is being written to before trusting that a jail is protecting you.
Using action_mwl Without a Working MTA
The
action_mwlaction is great when you have a functioning mail setup. Without one, every ban event generates a failed sendmail attempt, which fills your fail2ban log with noise and can slow down the ban execution. If you don't have sendmail or postfix configured with a working relay, drop back to
action = %(action_)s(ban only) or
action = %(action_mw)s(ban plus mail without the log excerpt). You can always add mail alerting later once your MTA is sorted.
Setting bantime Too Short
A 60-second ban accomplishes almost nothing against distributed credential-stuffing operations. Modern brute-force tools rotate through IP pools faster than that. The default in many guides is 600 seconds (10 minutes), which is better but still trivial. For SSH, 24 hours is a reasonable minimum. For everything else, at least an hour. Combine this with incremental bans for repeat offenders and you build a system that gets progressively more aggressive against persistent attackers without any manual intervention.
Forgetting to Reload After Config Changes
fail2ban doesn't watch its own config files for changes. After editing
jail.localor any filter under
/etc/fail2ban/filter.d/, you need to explicitly reload:
fail2ban-client reloadDon't use
systemctl restart fail2banunless you intentionally want to clear all active bans — a restart drops the entire ban list and every IP that was blocked starts clean.
fail2ban-client reloadapplies configuration changes while preserving existing bans. Use restart only when you need to flush the ban state deliberately, which in practice almost never happens.
Ignoring IPv6
If your server has a publicly reachable IPv6 address and you're only running iptables-based jails, your IPv6 stack is unprotected. Check whether your services are actually listening on IPv6 with
ss -tlnp, then either configure ip6tables actions alongside your existing iptables actions or migrate the entire banaction to nftables, which handles both protocol families natively through a single rule set. The relevant banaction for nftables is
nftables-multiport— swap it in at the
[DEFAULT]level and all jails inherit it.
fail2ban isn't a replacement for proper network segmentation, firewall policy, or SSH key-based authentication. What it does is eliminate the low-level brute-force noise that hits every public server, and it does that job reliably once it's configured correctly. Set it up with
jail.local, validate your filters, whitelist your management access, tune your thresholds to be actually meaningful, and it'll run quietly in the background without demanding your attention.