Linux LVM Setup and Management Guide
LVM — the Logical Volume Manager — is one of those tools that looks intimidating until the first time you need to grow a filesystem without any downtime. Then it becomes indispensable. I've managed environments where every disk was raw partitions, no LVM, and the moment a volume filled up you were either scrambling to delete data or scheduling a maintenance window. After switching to LVM across the board, that entire class of problem basically disappeared. This guide walks you through a real setup from scratch, explains the decisions behind each step, and covers the failure modes I've actually seen in production.
Prerequisites
Before touching a disk, make sure the following are in place on your target system (we'll be working on sw-infrarunbook-01 throughout this guide).
First, the
lvm2package must be installed. On RHEL/CentOS/Rocky systems it's usually there by default. On Debian/Ubuntu you'll need to install it explicitly:
apt-get install lvm2
# or on RHEL-based:
yum install lvm2
You need at least one unpartitioned block device — or a partition you can dedicate entirely to LVM. Check what's available with
lsblkand
fdisk -l. In this guide we'll assume /dev/sdb, /dev/sdc, and /dev/sdd are clean disks attached to the system. If your disks have existing partition tables, wipe them with
wipefs -a /dev/sdX— but obviously only after confirming there's nothing on them you care about.
You'll also want the kernel's device mapper module loaded. On any modern kernel it loads automatically when lvm2 does its thing, but you can verify with
lsmod | grep dm. If it's missing,
modprobe dm-modwill fix it.
Finally, run everything as root or with
sudo. LVM commands require direct access to block devices — there's no meaningful way to do this unprivileged.
Understanding the Three-Layer Model
LVM operates in three distinct layers, and keeping them straight in your head makes everything else click. Physical Volumes (PVs) are the raw devices — a whole disk like
/dev/sdb, or a partition like
/dev/sdb1. PVs get initialized so LVM knows about them. Volume Groups (VGs) aggregate one or more PVs into a single pool of storage. Logical Volumes (LVs) are carved out of that pool and are what you actually format and mount.
Think of it like this: PVs are the raw ingredients, the VG is the mixing bowl, and LVs are what you pour out to serve. The magic is that you can add more ingredients (PVs) to the bowl at any time, and you can resize what you've poured out without starting over.
Step-by-Step Setup
Step 1 — Initialize Physical Volumes
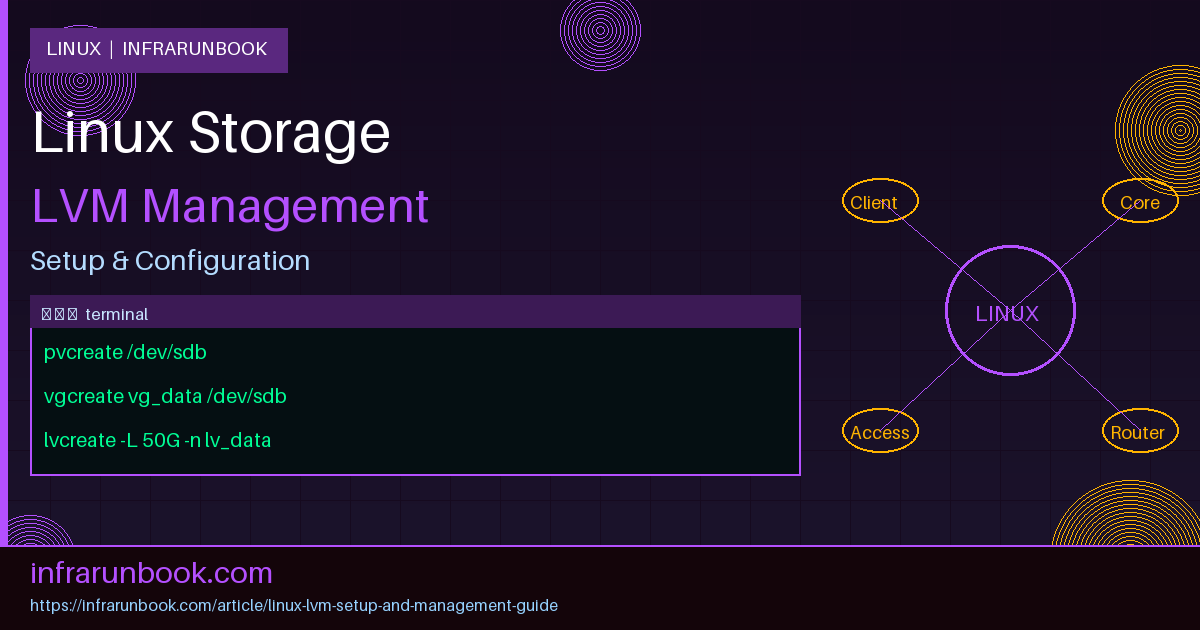
Start by marking each disk as an LVM Physical Volume. This writes LVM metadata to the beginning of the device so the volume manager can find and catalog it:
pvcreate /dev/sdb /dev/sdc /dev/sddYou should see output confirming each device was set up. Verify with
pvdisplayor the shorter
pvs:
pvs
  PV         VG   Fmt  Attr PSize   PFree
  /dev/sdb        lvm2 ---  100.00g 100.00g
  /dev/sdc        lvm2 ---  100.00g 100.00g
  /dev/sdd        lvm2 ---  200.00g 200.00g
Notice the VG column is empty — these PVs exist but aren't assigned anywhere yet. That's expected at this stage.
Step 2 — Create a Volume Group
Now combine all three PVs into a single volume group. I'll call it
vg_data— a name that reflects its purpose rather than being tied to a device name (which can change):
vgcreate vg_data /dev/sdb /dev/sdc /dev/sddThe default Physical Extent (PE) size is 4MB. For most workloads that's fine. If you're working with very large volumes (multi-terabyte), you might bump it to 16MB or 32MB with
-s 16Mto reduce metadata overhead. Don't overthink it for standard setups.
Check the result:
vgdisplay vg_data
  --- Volume group ---
  VG Name               vg_data
  System ID
  Format                lvm2
  VG Access             read/write
  VG Status             resizable
  MAX LV                0
  Cur LV                0
  Open LV               0
  Max PV                0
  Cur PV                3
  Act PV                3
  VG Size               399.98 GiB
  PE Size               4.00 MiB
  Total PE              102396
  Alloc PE / Size       0 / 0
  Free  PE / Size       102396 / 399.98 GiB
  VG UUID               Xy3kLm-...
You now have a single ~400GB pool to work with.
Step 3 — Create Logical Volumes
This is where you start carving out usable storage. Let's create three logical volumes: one for application data, one for logs, and one we'll use later for snapshots:
# 150GB for application data
lvcreate -L 150G -n lv_appdata vg_data

# 80GB for logs
lvcreate -L 80G -n lv_logs vg_data

# 50GB for databases
lvcreate -L 50G -n lv_db vg_data
The
-Lflag specifies an absolute size. If you want to use a percentage of the VG instead,
-l 40%VGworks as well. I generally prefer explicit sizes in production because they make capacity planning obvious at a glance.
Verify with
lvs:
lvs
  LV          VG      Attr       LSize   Pool Origin Data%  Meta%
  lv_appdata  vg_data -wi-a----- 150.00g
  lv_db       vg_data -wi-a-----  50.00g
  lv_logs     vg_data -wi-a-----  80.00g
Step 4 — Create Filesystems and Mount
Logical volumes appear as block devices under
/dev/vg_data/or equivalently as
/dev/mapper/vg_data-lv_appdata. Format them like any other block device:
mkfs.ext4 /dev/vg_data/lv_appdata
mkfs.ext4 /dev/vg_data/lv_logs
mkfs.xfs  /dev/vg_data/lv_db
I use XFS for the database volume because XFS handles large files and high write concurrency better than ext4 in my experience. For general-purpose workloads, ext4 is perfectly solid and has a simpler resizing story (you can shrink it, which XFS won't allow).
Create mount points and mount everything:
mkdir -p /srv/appdata /var/log/apps /var/lib/database

mount /dev/vg_data/lv_appdata /srv/appdata
mount /dev/vg_data/lv_logs    /var/log/apps
mount /dev/vg_data/lv_db      /var/lib/database
Full Configuration Example — /etc/fstab
To make mounts persistent across reboots, add entries to
/etc/fstab. Use the device mapper path rather than a UUID here — LVM device names are stable (unlike raw disk names), and this makes the entries self-documenting:
# /etc/fstab entries for LVM volumes on sw-infrarunbook-01
# managed by infrarunbook-admin

/dev/mapper/vg_data-lv_appdata   /srv/appdata        ext4   defaults,noatime          0 2
/dev/mapper/vg_data-lv_logs      /var/log/apps       ext4   defaults,noatime          0 2
/dev/mapper/vg_data-lv_db        /var/lib/database   xfs    defaults,noatime,nodiratime 0 2
The
noatimemount option is worth using by default — it skips updating the access time on every file read, which reduces unnecessary disk writes, especially on log-heavy volumes. For the database volume, I also add
nodiratimeto skip directory access time updates entirely.
Test your fstab before rebooting:
mount -a && echo "fstab OK"Working with Snapshots
Snapshots are one of LVM's killer features. A snapshot captures the state of a logical volume at a point in time — it doesn't duplicate the data immediately, just tracks what changes after the snapshot is taken. This makes them fast to create and space-efficient as long as you take and discard them quickly.
The classic use case is taking a consistent backup of a live volume without downtime. Create a snapshot of
lv_db:
lvcreate -L 10G -s -n lv_db_snap /dev/vg_data/lv_dbThe
-sflag marks this as a snapshot. The 10GB size here is the snapshot space — how much room LVM has to store changed blocks. If the snapshot space fills up, the snapshot becomes invalid. Size it relative to how much data will change during the backup window, not the size of the original volume. For a 50GB database volume where a backup takes 20 minutes, 10GB of snapshot space is usually comfortable.
Mount the snapshot read-only, run your backup, then remove it:
mkdir -p /mnt/db_snap
mount -o ro /dev/vg_data/lv_db_snap /mnt/db_snap

# run your backup tool here...
rsync -av /mnt/db_snap/ infrarunbook-admin@192.168.10.50:/backups/db/

umount /mnt/db_snap
lvremove -f /dev/vg_data/lv_db_snap
Don't leave snapshots sitting around. I've seen engineers create snapshots for a backup job that runs at 2am and then forget to remove them. Over a few weeks the snapshot space fills, the snapshot silently invalidates, and the next backup is of a corrupt point-in-time state. Automate the removal as part of the backup script.
Extending Volumes and Volume Groups
This is the scenario LVM was made for. Your
lv_appdatavolume is at 90% — you need more space, now. If there's free space in the VG, it's a two-command operation:
# Extend the LV by 50GB
lvextend -L +50G /dev/vg_data/lv_appdata

# Resize the filesystem to fill the new space (ext4)
resize2fs /dev/vg_data/lv_appdata
For XFS, the resize command is different:
# XFS must be mounted to resize
xfs_growfs /var/lib/database
Both operations are online — no unmounting required. In my experience this is where operators really appreciate LVM for the first time. What used to require a maintenance window is now a 10-second operation.
If the VG is also full, add a new physical disk first:
# New disk /dev/sde has been attached to sw-infrarunbook-01
pvcreate /dev/sde
vgextend vg_data /dev/sde

# Now extend the LV as normal
lvextend -L +100G /dev/vg_data/lv_appdata
resize2fs /dev/vg_data/lv_appdata
Shrinking Logical Volumes
Shrinking is the reverse operation, but it's far less forgiving. You must shrink the filesystem before shrinking the LV — do it the other way around and you'll corrupt your data. Also, XFS cannot be shrunk at all. Plan your XFS volumes with headroom or use ext4 if you anticipate needing to reclaim space later.
# Unmount first — shrink operations require the filesystem offline
umount /var/log/apps

# Check the filesystem
e2fsck -f /dev/vg_data/lv_logs

# Shrink the filesystem to 50GB
resize2fs /dev/vg_data/lv_logs 50G

# Shrink the LV to match
lvreduce -L 50G /dev/vg_data/lv_logs

# Remount
mount /dev/vg_data/lv_logs /var/log/apps
I always run
e2fsckfirst — even on a clean filesystem — because resize2fs will refuse to proceed if there are any errors, and you'd rather know about filesystem issues before shrinking than after.
Verification Steps
After any LVM operation, verify the state before calling it done. These commands give you the full picture:
# Full display of all PVs
pvdisplay

# Summary of all VGs
vgs --units g

# Summary of all LVs with their paths
lvs -o lv_name,lv_size,lv_path,vg_name

# Check that filesystems mounted correctly
df -hT | grep -E 'vg_data|mapper'

# Verify device mapper sees all volumes
ls -la /dev/mapper/vg_data-*
For snapshots specifically, monitor snapshot usage — a snapshot at 80%+ capacity is about to expire:
lvs -o lv_name,lv_size,data_percent,snap_percent
  LV            LSize   Data%  Snap%
  lv_db         50.00g
  lv_db_snap    10.00g         43.21
  lv_appdata   200.00g
  lv_logs       50.00g
The
Snap%column shows how full the snapshot space is. If this hits 100%, LVM marks the snapshot as invalid with no warning — which is exactly as bad as it sounds.
You can also use
vgckto verify the internal consistency of a volume group and
pvckto check physical volume metadata. These are useful after a power failure or unexpected system crash:
vgck vg_data
pvck /dev/sdb /dev/sdc /dev/sdd
Common Mistakes
Using Whole Disks vs. Partitions
You can initialize a whole disk as a PV (
/dev/sdb) or a partition (
/dev/sdb1). Using whole disks is cleaner and avoids confusion, but some tools and administrators get nervous when they see a disk with no partition table. If you're in a mixed environment or handing the system off to others, creating a single partition spanning the disk and using that as your PV (
/dev/sdb1) can avoid a support call from someone who thinks the disk is unformatted.
Forgetting to Run resize2fs After lvextend
The number of times I've seen this: someone extends the LV, checks
df -h, and wonders why the free space didn't change.
lvextendmakes more block space available to the LV — it doesn't tell the filesystem about it. You must run
resize2fs(ext4) or
xfs_growfs(XFS) as a separate step. You can combine them with
lvextend -rwhich automatically calls the right resize tool, but it's worth understanding the two-step process so you know what's happening.
Snapshot Space Exhaustion
Covered above, but it deserves emphasis. An expired snapshot is silently invalid. There's no error, no warning in
df— you just end up backing up garbage. Always monitor
Snap%if you're leaving snapshots open for any significant window, and always remove them as part of the backup workflow.
Shrinking LV Before Filesystem
This one corrupts data. Always: shrink filesystem first, then the LV. Extend is the opposite: extend the LV first, then the filesystem. The order matters because you're managing two separate layers — the block device and the filesystem sitting on top of it — and they need to stay in sync.
Not Backing Up VG Metadata
LVM automatically backs up VG metadata to
/etc/lvm/backup/whenever you make changes, and keeps archives in
/etc/lvm/archive/. This is your lifeline if a PV header gets corrupted. Make sure these directories are included in your system backup. If a disk dies and you need to restore the VG from metadata,
vgcfgrestorecan rebuild the configuration:
vgcfgrestore -f /etc/lvm/backup/vg_data vg_dataI've used this exactly once in production and it saved the day. Have the procedure documented and tested before you need it.
Naming Volumes After Devices
Don't name your VG
vg_sdbor your LV
lv_disk2. Device names change.
/dev/sdbon one boot might be
/dev/sdcafter a HBA rescan or kernel update. Name volumes after their purpose —
vg_data,
lv_appdata,
lv_logs— so the name stays meaningful regardless of what physical device backs it.
Skipping pvmove Before Removing a PV
If you need to remove a disk from a VG (e.g., replacing a failing drive), don't just run
vgreduce— that will destroy any data on that PV. First use
pvmoveto migrate the physical extents to other PVs in the group:
# Move all extents off /dev/sdc to other PVs in the group
pvmove /dev/sdc

# Now it's safe to remove
vgreduce vg_data /dev/sdc
pvremove /dev/sdcpvmoveis slow — it's actually moving data — but it runs online and in the background. You can monitor progress with
lvswhile it runs.
LVM is the right default for any Linux system that manages non-trivial amounts of storage. The flexibility to extend, snapshot, and migrate storage without downtime is worth the small overhead of learning the three-layer model. Once it clicks, you'll be retrofitting LVM onto systems that were built without it just to regain that operational leverage.