What Is Dynamic DNS (DDNS)?
Dynamic DNS (DDNS) allows DNS records to be updated automatically without manually editing zone files and issuing a reload. Instead of static zone file entries, DDNS enables clients, DHCP servers, or administration scripts to push record changes directly to the authoritative name server in real time. This is essential in environments where IP addresses change frequently — DHCP-assigned workstations, containerized workloads, VPN endpoints, and cloud instances with ephemeral addresses all benefit from automatic DNS registration and deregistration.
BIND9 supports dynamic DNS updates as defined in RFC 2136, which specifies the DNS UPDATE protocol. Updates are transmitted as standard DNS messages to the authoritative server, which applies changes directly to its in-memory zone data and journals them to a
.jnlfile on disk. The result is a live, always-current zone with no manual intervention required.
How BIND9 Handles Dynamic Updates Internally
When BIND9 receives a valid dynamic update, it applies the change to the in-memory zone immediately and appends a journal entry to a file named
zonename.jnlalongside the zone file on disk. The original zone file is not rewritten immediately — BIND periodically freezes the zone, merges the accumulated journal entries into the zone file, and thaws it. This design means that the on-disk zone file can lag behind the live zone state, and you should never manually edit a zone file while an active journal exists for it.
Dynamic updates can be controlled by three mechanisms:
- IP address ACL — using
allow-update
with a network address list - TSIG key — using
allow-update
with a named TSIG key (recommended for production) - Update policy rules — using the more granular
update-policy
directive for fine-grained per-key, per-record-type control
Prerequisites
Before proceeding, ensure the following are in place on
sw-infrarunbook-01:
- BIND9 installed and authoritative for the target zone
- A working forward zone for
solvethenetwork.com
- A working reverse zone for
10.10.10.in-addr.arpa
- Root or sudo access on the DNS server
- The
dnsutils
package installed (providesnsupdate
anddig
)
apt install dnsutils bind9utils -yStep 1 — Generate a TSIG Key for Dynamic Updates
Rather than permitting updates based on source IP alone, production deployments must require TSIG authentication. Generate a dedicated TSIG key using
tsig-keygen, which ships with BIND9:
tsig-keygen -a hmac-sha256 ddns-key.solvethenetwork.comThis outputs a ready-to-include key block. Redirect it directly to a key file:
tsig-keygen -a hmac-sha256 ddns-key.solvethenetwork.com \
  > /etc/bind/ddns-key.solvethenetwork.com.key
The resulting file looks like the following:
key "ddns-key.solvethenetwork.com" {
    algorithm hmac-sha256;
    secret "xQ8tV7mNpL3kJzRwYcHbOdFsAeGiUl9nK2vX5qT1yM4=";
};
Lock down permissions so only root and the bind group can read the key:
chown root:bind /etc/bind/ddns-key.solvethenetwork.com.key
chmod 640 /etc/bind/ddns-key.solvethenetwork.com.key
Step 2 — Configure BIND9 to Accept Dynamic Updates
Edit
/etc/bind/named.conf.localto include the key file and configure both the forward and reverse zones to accept authenticated updates. Note that dynamic zone files must reside in a directory writable by the
binduser —
/var/lib/bind/is the correct location on Debian and Ubuntu systems.
include "/etc/bind/ddns-key.solvethenetwork.com.key";

zone "solvethenetwork.com" {
    type master;
    file "/var/lib/bind/db.solvethenetwork.com";
    allow-update { key "ddns-key.solvethenetwork.com"; };
};

zone "10.10.10.in-addr.arpa" {
    type master;
    file "/var/lib/bind/db.10.10.10";
    allow-update { key "ddns-key.solvethenetwork.com"; };
};
Key configuration points:
- The
include
directive must appear before the zone blocks that reference the key name. - Zone files in
/etc/bind/
are typically not writable by the bind user — BIND will fail to create journal files there. Always use/var/lib/bind/
for dynamic zones. - The
allow-update
directive here permits updates only from requests signed with the matching TSIG key, regardless of source IP.
Step 3 — Prepare the Zone Files
Create the forward zone file at
/var/lib/bind/db.solvethenetwork.com:
$TTL 3600
@   IN  SOA sw-infrarunbook-01.solvethenetwork.com. infrarunbook-admin.solvethenetwork.com. (
            2024031501 ; Serial
            3600       ; Refresh
            900        ; Retry
            604800     ; Expire
            300 )      ; Negative TTL

@       IN  NS   sw-infrarunbook-01.solvethenetwork.com.
sw-infrarunbook-01  IN  A  10.10.10.1
Create the reverse zone file at
/var/lib/bind/db.10.10.10:
$TTL 3600
@   IN  SOA sw-infrarunbook-01.solvethenetwork.com. infrarunbook-admin.solvethenetwork.com. (
            2024031501 ; Serial
            3600       ; Refresh
            900        ; Retry
            604800     ; Expire
            300 )      ; Negative TTL

@       IN  NS   sw-infrarunbook-01.solvethenetwork.com.
1       IN  PTR  sw-infrarunbook-01.solvethenetwork.com.
Set ownership so BIND can write journal files alongside the zone files:
chown bind:bind /var/lib/bind/db.solvethenetwork.com
chown bind:bind /var/lib/bind/db.10.10.10
Validate and reload:
named-checkconf
named-checkzone solvethenetwork.com /var/lib/bind/db.solvethenetwork.com
named-checkzone 10.10.10.in-addr.arpa /var/lib/bind/db.10.10.10
systemctl reload bind9
Step 4 — Adding Records with nsupdate
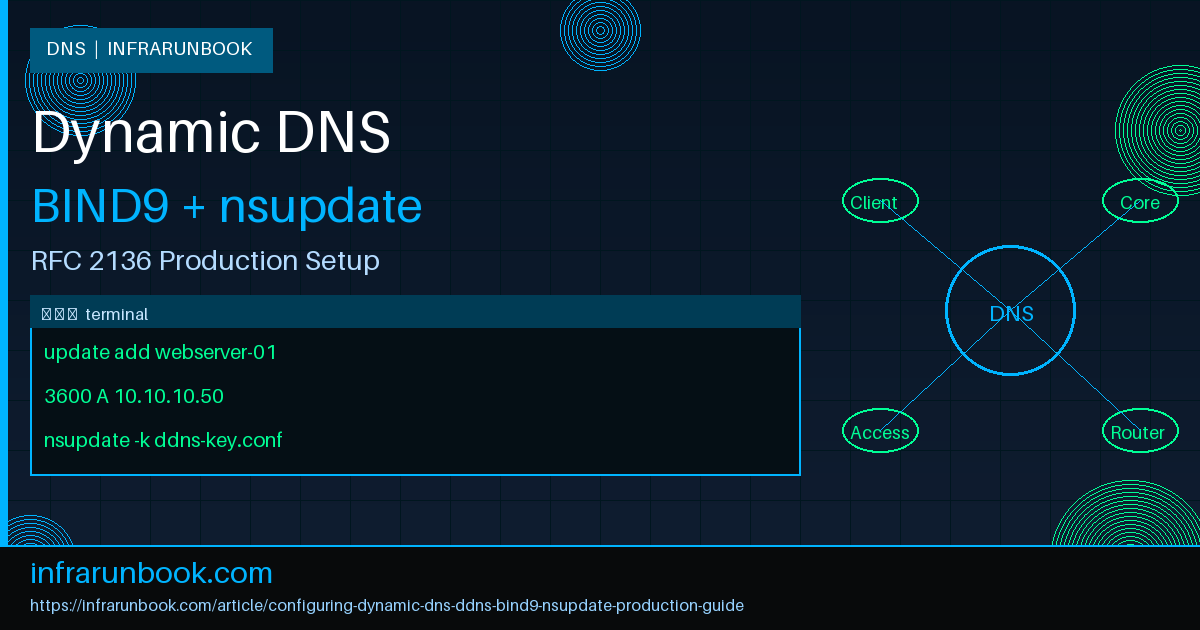
nsupdateis the standard command-line tool for sending RFC 2136 DNS UPDATE messages. It reads commands from an input file (or interactively) and transmits a signed DNS UPDATE request to the server. Create an update script to add an A record and its PTR simultaneously:
server 10.10.10.1
zone solvethenetwork.com
update add webserver-01.solvethenetwork.com. 3600 A 10.10.10.50
send

zone 10.10.10.in-addr.arpa
update add 50.10.10.10.in-addr.arpa. 3600 PTR webserver-01.solvethenetwork.com.
send
Save this as
/tmp/ddns-add-host.txtand execute with TSIG authentication:
nsupdate -k /etc/bind/ddns-key.solvethenetwork.com.key /tmp/ddns-add-host.txtA successful update exits silently with status 0. Verify the records were applied:
dig @10.10.10.1 webserver-01.solvethenetwork.com A +short
dig @10.10.10.1 -x 10.10.10.50 +short
Step 5 — Deleting Records with nsupdate
To remove a record, use the
update deletecommand. Omitting the RDATA deletes all records of that type at the specified name:
server 10.10.10.1
zone solvethenetwork.com
update delete webserver-01.solvethenetwork.com. A
send

zone 10.10.10.in-addr.arpa
update delete 50.10.10.10.in-addr.arpa. PTR
send
nsupdate -k /etc/bind/ddns-key.solvethenetwork.com.key /tmp/ddns-delete-host.txtTo delete a specific record value rather than all records of a type, include the full RDATA in the delete command:
update delete webserver-01.solvethenetwork.com. 3600 A 10.10.10.50Step 6 — Updating an Existing Record
RFC 2136 DNS UPDATE has no native modify operation. To change an existing record value, delete the old entry and add the new one in a single atomic transaction:
server 10.10.10.1
zone solvethenetwork.com
update delete webserver-01.solvethenetwork.com. A
update add webserver-01.solvethenetwork.com. 3600 A 10.10.10.55
send
nsupdate -k /etc/bind/ddns-key.solvethenetwork.com.key /tmp/ddns-update-host.txtBoth operations in a single transaction are applied atomically — if the add fails, the delete is also rolled back, preventing record loss.
Using update-policy for Fine-Grained Access Control
The
allow-updatedirective is binary: a client that passes TSIG authentication can update any record type in the zone. For stricter production environments, replace it with the
update-policydirective, which allows per-key, per-record-type, per-name restrictions.
zone "solvethenetwork.com" {
    type master;
    file "/var/lib/bind/db.solvethenetwork.com";
    update-policy {
        grant ddns-key.solvethenetwork.com wildcard *.solvethenetwork.com. A AAAA TXT;
        grant ddns-key.solvethenetwork.com name solvethenetwork.com. MX;
    };
};
With this policy in place:
- The DDNS key may add or delete
A
,AAAA
, andTXT
records for any hostname undersolvethenetwork.com
- It may also update the
MX
record at the zone apex - It cannot modify
NS
,SOA
,CNAME
,SRV
, or any other record types — protecting critical zone infrastructure from accidental or malicious overwrites
The
wildcardmatch type grants access to names matching the pattern. Other match types include
name(exact match),
subdomain(name and all descendants), and
self(the key name itself, useful for GSS-TSIG/Kerberos-authenticated clients registering their own hostnames).
Integrating Dynamic DNS with ISC DHCP Server
One of the most common production uses of DDNS is automatic forward and reverse registration when clients receive DHCP leases. ISC DHCP can send RFC 2136 updates to BIND9 on behalf of DHCP clients — both servers must share the same TSIG key.
If the DHCP server runs on the same host as BIND9, reference the existing key file. Otherwise, copy it securely to the DHCP host:
cp /etc/bind/ddns-key.solvethenetwork.com.key /etc/dhcp/ddns-key.conf
chown root:root /etc/dhcp/ddns-key.conf
chmod 640 /etc/dhcp/ddns-key.conf
Edit
/etc/dhcp/dhcpd.confto enable DDNS integration:
include "/etc/dhcp/ddns-key.conf";

ddns-updates on;
ddns-update-style interim;
update-static-leases on;
ignore client-updates;

zone solvethenetwork.com. {
    primary 10.10.10.1;
    key ddns-key.solvethenetwork.com;
}

zone 10.10.10.in-addr.arpa. {
    primary 10.10.10.1;
    key ddns-key.solvethenetwork.com;
}

subnet 10.10.10.0 netmask 255.255.255.0 {
    range 10.10.10.100 10.10.10.200;
    option domain-name "solvethenetwork.com";
    option domain-name-servers 10.10.10.1;
    option routers 10.10.10.254;
    ddns-domainname "solvethenetwork.com.";
    ddns-rev-domainname "in-addr.arpa.";
    default-lease-time 86400;
    max-lease-time 172800;
}
With
ddns-update-style interim, the DHCP server registers an A record using the client-supplied hostname (DHCP option 12) and a corresponding PTR for the assigned IP. The
ignore client-updatesdirective prevents clients from attempting their own direct DNS updates — the DHCP server acts as the sole trusted updater. Restart the DHCP service to apply the configuration:
systemctl restart isc-dhcp-server
journalctl -u isc-dhcp-server -f
Logging Dynamic DNS Update Activity
BIND9 categorizes DDNS activity under the
updateand
update-securitylog categories. Directing these to a dedicated log file makes auditing straightforward. Add the following to
/etc/bind/named.conf.logging:
logging {
    channel ddns_log {
        file "/var/log/named/ddns.log" versions 5 size 10m;
        severity info;
        print-time yes;
        print-severity yes;
        print-category yes;
    };

    category update { ddns_log; };
    category update-security { ddns_log; };
};
Create the log directory and set ownership:
mkdir -p /var/log/named
chown bind:bind /var/log/named
Include the logging config in the main
named.conf:
include "/etc/bind/named.conf.logging";After reloading BIND9, successful dynamic update events appear in
/var/log/named/ddns.log:
26-Mar-2024 14:32:11.452 update: info: client @0x7f3a4c005680 10.10.10.5#52341/key ddns-key.solvethenetwork.com: updating zone 'solvethenetwork.com/IN': adding an RR at 'webserver-01.solvethenetwork.com' A
26-Mar-2024 14:32:11.453 update: info: client @0x7f3a4c005680 10.10.10.5#52341/key ddns-key.solvethenetwork.com: updating zone '10.10.10.in-addr.arpa/IN': adding an RR at '50.10.10.10.in-addr.arpa' PTR
Denied update attempts appear under
update-securityand include the reason for rejection — invaluable for catching misconfigured clients or unauthorized access attempts early.
Zone File Maintenance and Journal Management
Because BIND9 journals dynamic updates incrementally, the on-disk zone file can diverge significantly from the live zone. To merge the journal back into the zone file — required before any manual edits — freeze and thaw the zone using
rndc:
rndc freeze solvethenetwork.com
# The .jnl file is now merged into the zone file on disk
# Make any manual edits here, then increment the serial
rndc thaw solvethenetwork.com
To inspect the current live zone state including all dynamic updates without freezing:
rndc dumpdb -zones
# Output written to the file configured by dump-file in named.conf
# Default: /var/cache/bind/named_dump.db
Warning: Never edit a zone file that has an active
.jnljournal file alongside it while BIND is running. The journal takes precedence over the zone file at startup — manual edits made to the zone file without freezing first will be overwritten when the journal is replayed. Always freeze before editing.
Security Hardening for Production DDNS
Dynamic DNS introduces write access to zone data — a critical attack surface if not hardened correctly. Apply these controls in every production deployment:
- Require TSIG on every dynamic zone. Never use
allow-update { any; };
or IP-only ACLs in production. An attacker on the same network segment could inject or overwrite records without TSIG enforcement. - Prefer update-policy over allow-update. It limits which record types and names a key can modify, containing the blast radius of a compromised credential.
- Issue separate keys per role. The DHCP server, monitoring scripts, and administrative tooling should each hold a distinct TSIG key with only the permissions they need. Revoking one key does not affect others.
- Rotate TSIG keys on a schedule. Generate a new key, deploy it to all consumers simultaneously, verify it works, then remove the old key from
named.conf
and reload. - Protect NS and SOA records. Ensure no update-policy rule permits modification of
NS
orSOA
records. An attacker who can overwrite NS records effectively hijacks your zone delegation. - Alert on update-security log events. TSIG validation failures indicate either misconfigured clients or active probing. Forward these to your SIEM or alerting pipeline.
Troubleshooting Common Issues
nsupdate returns REFUSED
BIND rejected the update. Check that the TSIG key name and secret in the file passed to
-kmatch exactly what is declared in
named.conf. Verify the zone has an
allow-updateor
update-policydirective that grants this key permission. Check
syslogand the
update-securitylog channel for the specific rejection reason.
nsupdate returns NOTAUTH
The target server is not authoritative for the zone specified in the update. Confirm the zone name in the nsupdate script matches the zone declaration in
named.confexactly, including case. Verify BIND has loaded the zone successfully:
rndc zonestatus solvethenetwork.comBIND fails to start with journal conflict error
If the zone file was edited manually while a journal existed, BIND may refuse to load the zone. Resolve this by stopping BIND, removing the stale journal, and restarting:
systemctl stop bind9
rm /var/lib/bind/db.solvethenetwork.com.jnl
systemctl start bind9
Only remove the journal if the zone file on disk contains the authoritative current state. If the journal contains updates not yet in the zone file and you need to preserve them, use
rndc freezewhile BIND is still running to merge first.
ISC DHCP not registering client hostnames
Check
journalctl -u isc-dhcp-serverfor DDNS update errors. Common causes include: the DHCP client not sending a hostname (DHCP option 12) in its request; a key name mismatch between
dhcpd.confand
named.conf; or the zone name in
dhcpd.confmissing a trailing dot. All zone names in
dhcpd.confDDNS zone blocks must be fully qualified with a trailing period.
Related Articles
- [DNS] Configuring BIND9 Response Policy Zones (RPZ) for DNS Firewall Protection – Production Guide
- [DNS] Configuring Split-Horizon DNS with BIND9 Views on Ubuntu – Production Guide
- [DNS] Securing BIND9 Zone Transfers with TSIG Keys – Complete Production Guide
- [DNS] How to Configure DNSSEC on BIND9 (Ubuntu) – Complete Step-by-Step Guide