Introduction
Rate limiting is one of the most effective tools in an Nginx administrator's arsenal. Without it, a single client — whether a misbehaving bot, a misconfigured application, or a deliberate attacker — can exhaust your server's resources and take down your entire service. Nginx provides two primary rate limiting directives: limit_req for request rate limiting and limit_conn for concurrent connection limiting.
In this guide, we configure both mechanisms from scratch on a production server running Nginx for solvethenetwork.com. Every config block is real, tested, and ready to deploy.
How Nginx Rate Limiting Works
Nginx rate limiting is built on the leaky bucket algorithm. Requests arrive at any rate but are processed at a fixed rate. When the bucket overflows — i.e., too many requests arrive too quickly — Nginx either delays the excess requests or rejects them with a
429 Too Many Requestsresponse.
Two modules handle this:
- ngx_http_limit_req_module — limits request rate per key (IP, cookie, header, etc.)
- ngx_http_limit_conn_module — limits concurrent open connections per key
Both modules are compiled into Nginx by default in all major distributions (Ubuntu, AlmaLinux, Debian).
Defining Rate Limit Zones in nginx.conf
Zones are defined in the
http {}block of
/etc/nginx/nginx.conf. They allocate shared memory that all worker processes use to track request counts.
http {
# Request rate limiting zones
# $binary_remote_addr uses binary IP (4 bytes IPv4, 16 bytes IPv6) — more compact than $remote_addr
# 10m = 10 MB shared memory zone (~160,000 IP states)
# rate=10r/s = 10 requests per second per IP
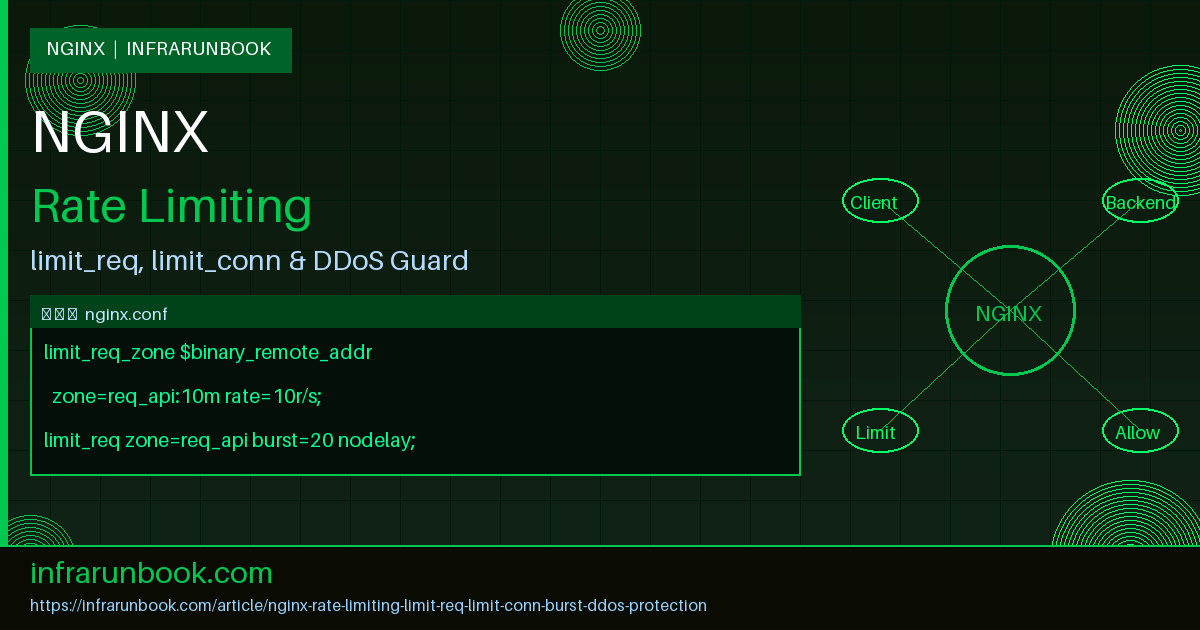
limit_req_zone $binary_remote_addr zone=req_general:10m rate=10r/s;
limit_req_zone $binary_remote_addr zone=req_api:10m rate=5r/s;
limit_req_zone $binary_remote_addr zone=req_login:10m rate=1r/s;
# Connection limiting zones
limit_conn_zone $binary_remote_addr zone=conn_per_ip:10m;
limit_conn_zone $server_name zone=conn_per_server:10m;
# Log level for rate-limited requests (error, warn, notice, info)
limit_req_status 429;
limit_conn_status 429;
limit_req_log_level warn;
limit_conn_log_level warn;
include /etc/nginx/conf.d/*.conf;
include /etc/nginx/sites-enabled/*;
}
Understanding Zone Memory Sizing
Each IP state in a
limit_req_zoneconsumes approximately 64 bytes. A 10 MB zone holds roughly 160,000 unique IP states simultaneously. For high-traffic sites, increase to
50mor
100m. If the zone fills up, Nginx logs an error and returns 503 to new clients.
# Zone sizing reference:
# 1m  ~= 16,000 IP states
# 10m ~= 160,000 IP states
# 50m ~= 800,000 IP states

# For solvethenetwork.com with ~50k daily unique visitors:
limit_req_zone $binary_remote_addr zone=req_general:10m rate=20r/s;
Applying Rate Limits to a Virtual Host
Below is a complete virtual host for
solvethenetwork.comwith rate limiting applied per location block:
server {
    listen 443 ssl http2;
    server_name solvethenetwork.com www.solvethenetwork.com;

    ssl_certificate     /etc/letsencrypt/live/solvethenetwork.com/fullchain.pem;
    ssl_certificate_key /etc/letsencrypt/live/solvethenetwork.com/privkey.pem;

    root /var/www/solvethenetwork;
    index index.html index.php;

    # Global connection limit — max 20 concurrent connections per IP
    limit_conn conn_per_ip 20;

    # General pages: allow burst of 20, process at 10r/s
    location / {
        limit_req zone=req_general burst=20 nodelay;
        try_files $uri $uri/ =404;
    }

    # API endpoints: stricter — 5r/s, burst of 10, delay excess
    location /api/ {
        limit_req zone=req_api burst=10 nodelay;
        limit_conn conn_per_ip 10;
        proxy_pass http://127.0.0.1:8000;
        proxy_set_header Host $host;
        proxy_set_header X-Real-IP $remote_addr;
    }

    # Login endpoint: very strict — 1r/s, no burst allowed
    location /api/auth/login {
        limit_req zone=req_login burst=3 nodelay;
        limit_conn conn_per_ip 5;
        proxy_pass http://127.0.0.1:8000;
        proxy_set_header Host $host;
        proxy_set_header X-Real-IP $remote_addr;
    }

    # Static assets: no rate limiting needed
    location ~* \.(css|js|png|jpg|gif|ico|woff2)$ {
        expires 30d;
        add_header Cache-Control "public, immutable";
    }
}
Burst and nodelay Explained
The
burstparameter and
nodelayflag are the most misunderstood parts of Nginx rate limiting. Here is exactly what each combination does:
limit_req zone=req_general rate=10r/s (no burst)
Requests beyond 10/s are immediately rejected with 429. Very strict — any traffic spike causes drops.
limit_req zone=req_general burst=20 (burst without nodelay)
Up to 20 excess requests are queued and delayed until they fit within the 10r/s rate. A client sending 30 requests instantly gets 10 served immediately, 20 delayed (spaced 100ms apart). The 31st and beyond get 429.
limit_req zone=req_general burst=20 nodelay
Up to 20 excess requests are served immediately without delay, but all 30 tokens are consumed from the bucket at once. Subsequent requests within the same second are rejected. Best for APIs where latency matters but you still want protection against floods.
# Visualising burst behaviour:
# Rate: 10r/s | Burst: 20 | nodelay
#
# t=0.000s: 30 requests arrive simultaneously
#   → 10 served at rate (immediate)
#   → 20 served via burst (immediate, nodelay)
#   → bucket now empty
# t=0.000s: 31st request → 429
# t=0.100s: bucket refills by 1 → next request allowed
# t=1.000s: bucket refills to 10 → 10 requests allowed again
Connection Limiting with limit_conn
While
limit_reqcontrols request rate,
limit_connlimits simultaneous open connections. This is critical for preventing slowloris-style attacks where an attacker opens many connections and sends data slowly.
# In http {} block (nginx.conf):
limit_conn_zone $binary_remote_addr zone=conn_per_ip:10m;
limit_conn_zone $server_name        zone=conn_per_server:10m;
limit_conn_status 429;

# In server {} block:
server {
    server_name solvethenetwork.com;

    # Max 50 concurrent connections from a single IP to this server
    limit_conn conn_per_ip 50;

    # Max 5000 total concurrent connections to this server (all IPs)
    limit_conn conn_per_server 5000;

    location /api/ {
        # Tighter limit for API endpoints
        limit_conn conn_per_ip 10;
    }
}
IP Whitelisting — Bypassing Rate Limits for Trusted Sources
Internal monitoring systems, load balancers, and office IPs should be exempt from rate limits. Use a geo map to set a variable, then conditionally skip limiting:
# In http {} block:
geo $limit_key {
    default         $binary_remote_addr;

    # Trusted IPs — set key to empty string (bypasses zone lookup)
    10.10.0.0/24    "";    # infrarunbook office network
    10.20.0.1       "";    # infrarunbook monitoring server
    172.16.50.0/28  "";    # infrarunbook load balancer pool
    127.0.0.1       "";    # localhost
}

# Use $limit_key instead of $binary_remote_addr in zones:
limit_req_zone  $limit_key zone=req_general:10m rate=10r/s;
limit_conn_zone $limit_key zone=conn_per_ip:10m;

# When $limit_key is empty, Nginx skips the zone — trusted IPs are unlimited
Custom Error Pages for Rate-Limited Requests
Return a proper JSON error for API clients and a friendly HTML page for browser users:
# In server {} block:
error_page 429 /errors/429.html;

location = /errors/429.html {
    internal;
    root /var/www/solvethenetwork;
    add_header Content-Type text/html;
    add_header Retry-After 60;
}

# For API endpoints, return JSON:
location /api/ {
    limit_req zone=req_api burst=10 nodelay;

    error_page 429 /errors/429.json;

    location = /errors/429.json {
        internal;
        add_header Content-Type application/json;
        add_header Retry-After 60;
        return 429 '{"error":"rate_limit_exceeded","message":"Too many requests. Please retry after 60 seconds.","retry_after":60}';
    }

    proxy_pass http://127.0.0.1:8000;
}
Logging Rate-Limited Requests
Configure a dedicated log format to capture rate limit events with full context:
# In http {} block:
log_format rate_limit '$time_local | $remote_addr | $status | '
                      '$request | $http_user_agent | '
                      'limit=$limit_req_status';

# In server {} block:
access_log /var/log/nginx/solvethenetwork-access.log rate_limit;
access_log /var/log/nginx/solvethenetwork-ratelimit.log rate_limit if=$limit_req_status;

# To monitor rate limit hits in real time:
# tail -f /var/log/nginx/solvethenetwork-access.log | grep " 429 "
Testing Rate Limits with curl and ab
Always test your rate limits in a staging environment before applying to production:
# Test 1: Send 20 rapid requests and observe responses
for i in $(seq 1 20); do
  curl -s -o /dev/null -w "%{http_code}
" https://solvethenetwork.com/api/status
done

# Expected output (10r/s with burst=5 nodelay):
# 200 200 200 200 200 200 200 200 200 200 200 200 200 200 200 429 429 429 429 429

# Test 2: Apache Benchmark — 100 requests, 20 concurrent
ab -n 100 -c 20 https://solvethenetwork.com/api/status

# Test 3: Check Nginx error log for limit_req rejections
tail -f /var/log/nginx/error.log | grep -E "limiting requests|limiting connections"

# Test 4: Check current zone usage
# (requires nginx compiled with --with-debug or use nginx -V to check)
nginx -T 2>/dev/null | grep limit_req_zone
Production Configuration for nginx-infrarunbook-01
Below is the complete hardened rate limiting configuration as deployed on nginx-infrarunbook-01:
# /etc/nginx/nginx.conf — http {} block additions

# Request rate zones
limit_req_zone  $binary_remote_addr zone=req_global:20m    rate=30r/s;
limit_req_zone  $binary_remote_addr zone=req_api:10m       rate=10r/s;
limit_req_zone  $binary_remote_addr zone=req_auth:5m       rate=1r/s;
limit_req_zone  $binary_remote_addr zone=req_search:5m     rate=2r/s;

# Connection zones
limit_conn_zone $binary_remote_addr zone=conn_client:10m;

# Status codes
limit_req_status  429;
limit_conn_status 429;

# Log level
limit_req_log_level  warn;
limit_conn_log_level warn;

# Whitelist trusted infrastructure
geo $limit_key {
    default        $binary_remote_addr;
    10.10.0.0/16   "";   # infrarunbook internal
    10.20.0.0/24   "";   # infrarunbook monitoring
    127.0.0.1      "";   # loopback
}

limit_req_zone  $limit_key zone=req_global_wl:20m  rate=30r/s;
limit_req_zone  $limit_key zone=req_api_wl:10m     rate=10r/s;
limit_req_zone  $limit_key zone=req_auth_wl:5m     rate=1r/s;
limit_conn_zone $limit_key zone=conn_client_wl:10m;
Reload Nginx After Changes
# Test configuration syntax
nginx -t

# If OK, reload gracefully (no dropped connections)
systemctl reload nginx

# Verify reload succeeded
systemctl status nginx

# Watch error log for any zone issues
tail -f /var/log/nginx/error.log